
A table connection point has to satisfy two designs at once: the technology plan and the furniture plan. The ports must support the intended use, but the box also needs to fit the tabletop and remain convenient for the people sitting around it.
That is why you should choose table connectivity before cutting a hole or committing to a mounting location. FSR's CT6, RT6, T6 brackets, and Symphony mounting options provide different ways to bring connections to the work surface. The right choice begins with how the table is built and how the room will be used.
Decide Where Users Should Connect
Start with the seating plan and the task. A presenter at a lectern needs a different connection location from participants on opposite sides of a boardroom table. A shared workstation may need convenient charging, while a UC&C room may also need a clear path for laptop connections.
Consider what users should reach, what can stay underneath, and where cables will go during use. Don't choose a central opening just because it looks balanced on the drawing. Check whether it is actually reachable from the intended seats and whether the lid and connected cables will interfere with the working area.
The goal is a connection point that makes sense to the person using it, not simply a place where all of the specified ports can be fitted.
Check the Table Before Choosing the Opening
Review tabletop thickness, material, support rails, aprons, pedestals, and any equipment already mounted below the surface. Include clearance for connector shells and cable movement. The tabletop opening is only one dimension of the installation.
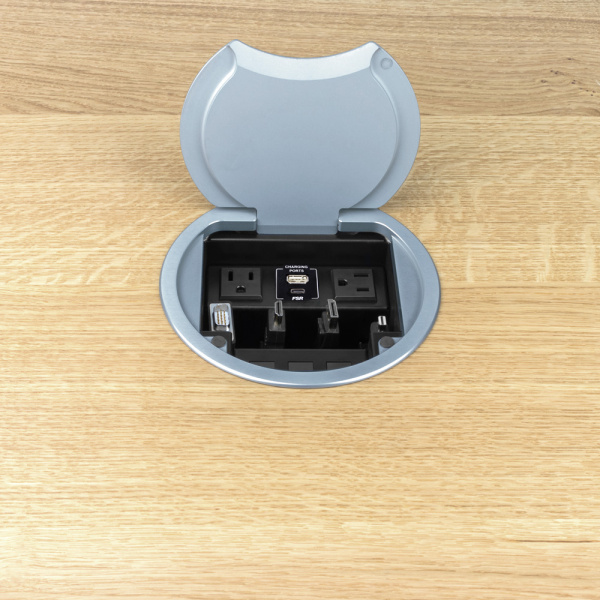
FSR's CT6 uses a 6-inch-diameter round opening and accommodates table thicknesses from 3/4 inch to 2-1/4 inches. Its interior supports configurable bracket arrangements, and its cover can close while connected cables exit through the milled opening.
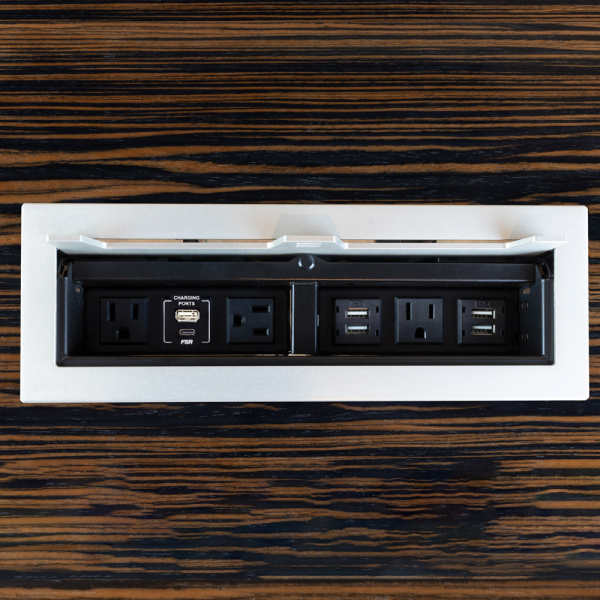
FSR's RT6 family offers square-format S3 and S4 models, plus rectangular and dual-sided arrangements. Each layout has its own opening and capacity requirements. Select the model around the connection plan and available furniture space, then use the corresponding drawing to confirm the cutout. Do not assume that matching the visible cover size proves the box will fit underneath.
Build the Connection Mix Around the Job
Once you establish the mounting approach, identify the mix of power, charging, data, audio, and video required. Separate the need for a fixed connector from the need for a cable that can be pulled out and returned. Don't mistake a USB charging connection for a data connection just because the connector shape is familiar.
FSR's T6 bracket range supports several different functions. The T6-LB-AC2CH-C6 combines two AC outlets with a sophisticated 65W charging module that supports the “Multiport Shared Capacity Charging” protocol, allowing multiple modern devices to charge at the fastest rate. Other large-section options provide AC outlets, IPS openings, Simple Solutions snap-in openings, or cable-pull arrangements.
Choose compatible brackets for the selected box and the specific positions available within it. Large, small, and half-small brackets aren't automatically interchangeable, and connection capacity depends on how the enclosure is configured.
For retractable cable access, choose the dedicated CT6-CPRT, RT6-CPRT-S3, or RT6-CPRT-S4 models. These table boxes integrate compact Cable Pilot retractors below the work surface, keeping HDMI, USB-C, or CAT6 cables accessible with 5 feet of payout. The CT6-CPRT accommodates up to three retractors, while the RT6-CPRT-S3 and RT6-CPRT-S4 accommodate up to two. Each configuration retains space for compatible T6 large-bracket inserts, allowing power and charging alongside retractable connections. Retractor mounting hardware is included; CPRT-UT retractors and T6-LB inserts are sold separately.
One Bracket. Three Possibilities.
The T6-LB-UN Universal Bracket is a useful example of the table box system's configuration flexibility. It can accommodate up to four IPS inserts, route up to six cables in a cable-pull configuration, or remain blank to close off an unused section.
The choice should follow the project: populated connectors where users need fixed ports, a cable-pull arrangement where appropriate, or a blank section when that space is not being used.
The bracket detail also helps explain why a table box is more than its exterior shape. The interior choices determine what the connection point can do for the room.
Consider an Alternative to an In-Table Cutout
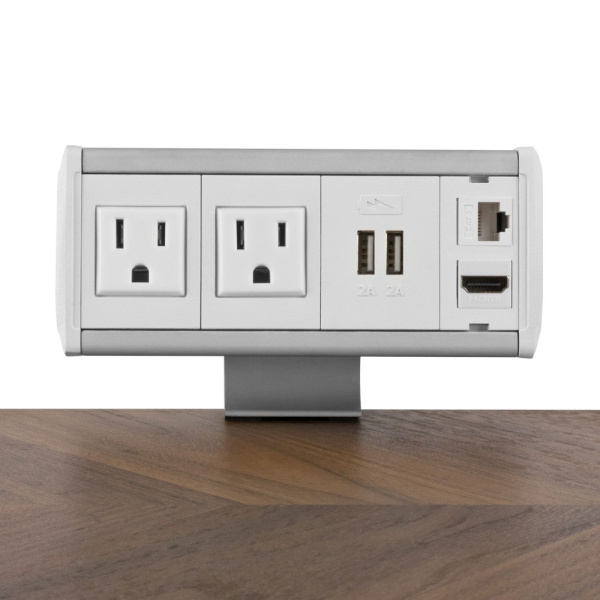
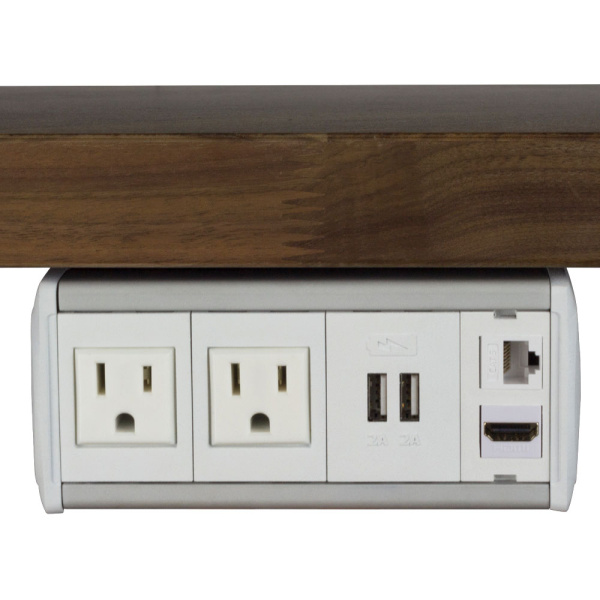
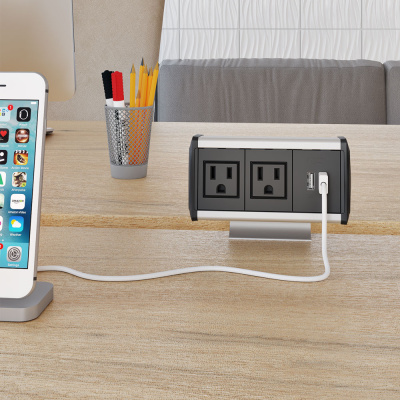
A recessed box is not the only approach. Some projects are better served by placing the connection unit at the table edge or underneath the work surface. Review those options when an in-table opening is undesirable or conflicts with the furniture design.
FSR's Symphony Clamp-On and Under-Table boxes provide these alternative mounting styles. Clamp-On versions use a non-marring C-clamp attachment, while Under-Table versions locate the housing below the work surface. The range offers power, USB charging, and low-voltage connection options, with the configuration selected to suit the application.
Neither approach removes the need to check the furniture. A clamp requires a suitable edge and thickness, and an under-table unit still needs adequate mounting space and convenient access. Choose the method first, then check the complete installed arrangement.
Finish the Table and Plan the Next Step
The connection point should complement the furniture between uses and function during a meeting. FSR's CT6 offers black or clear anodized aluminum cover finishes, while RT6 models provide hideaway-cover designs in documented finishes. Confirm the selected model and finish together rather than relying on a representative product image. An appropriate box, compatible brackets, and a considered location make the table connection part of the room's design.