
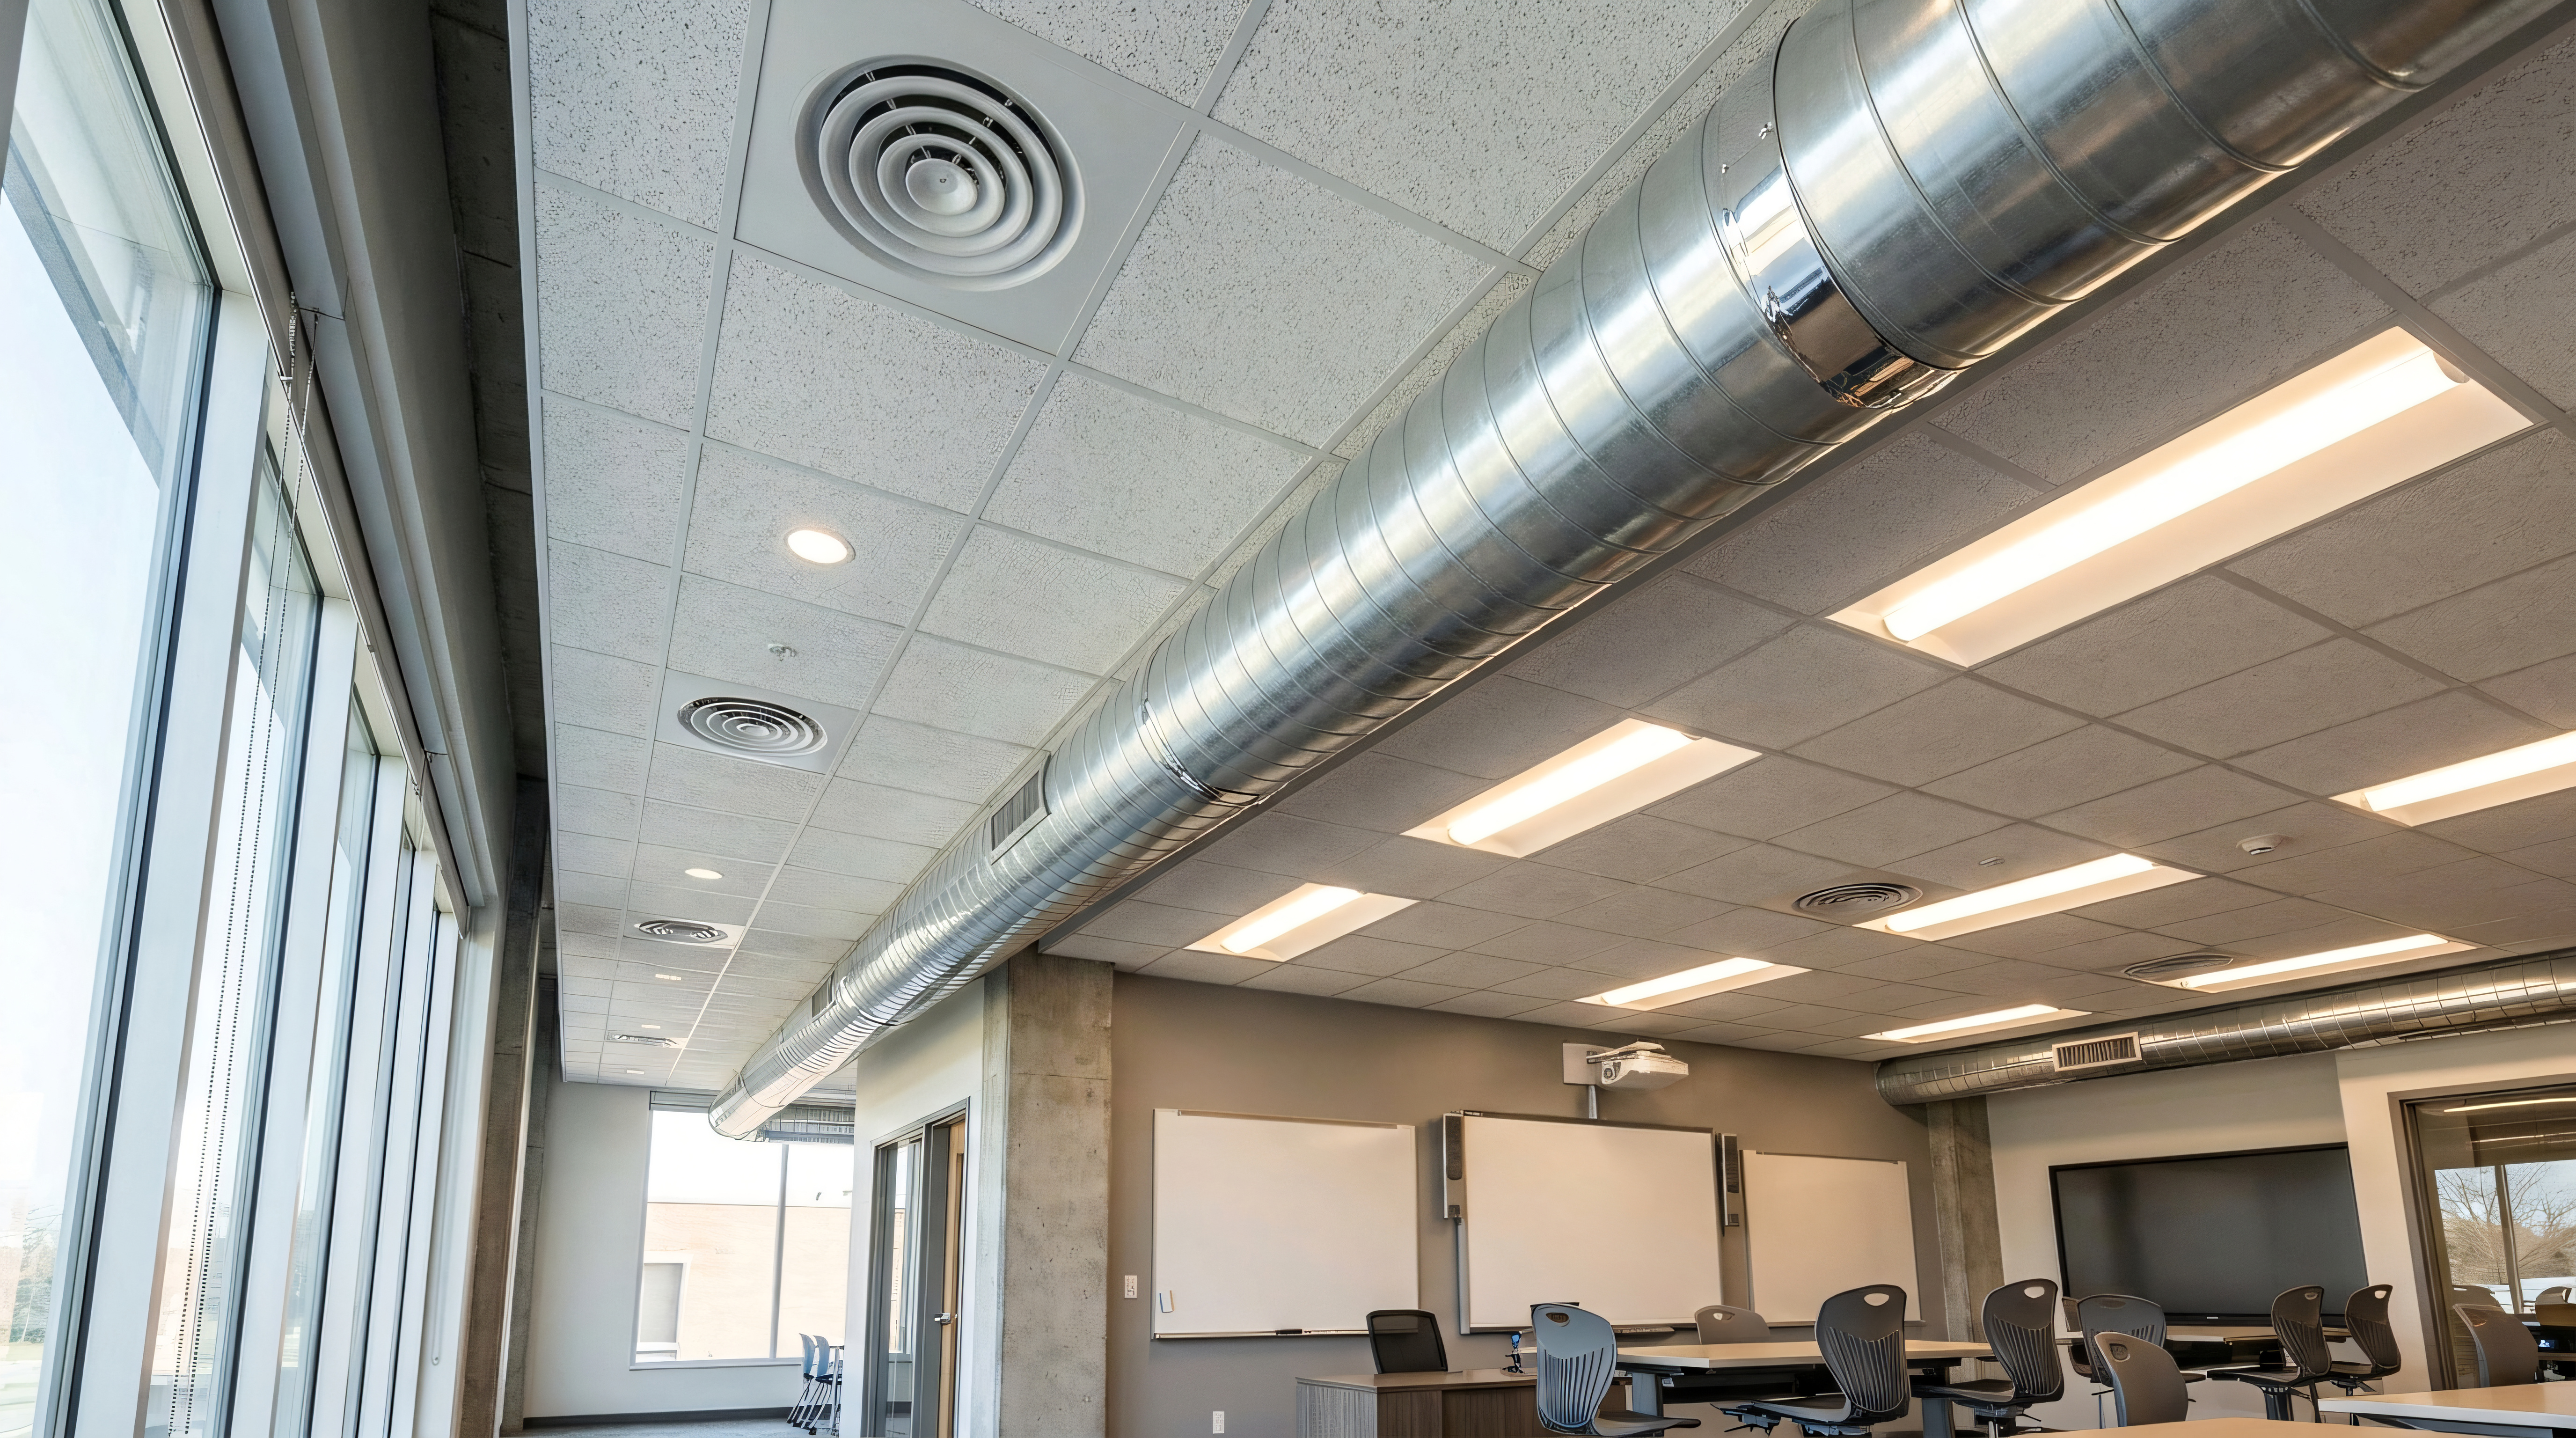
A ceiling enclosure can move AV equipment out of the room's visible space. But getting the equipment above the ceiling is only the first step. The same installation will eventually need inspection, troubleshooting, or a component change.
Before choosing an enclosure, ask a second question alongside 'Will it fit?': 'How will someone work on it?' FSR's CB-22+ and CB-324+ show why shelf design, rack access, cable entry, and the access door deserve attention at the beginning of an AV installation, not only at the next service visit.
Check the Equipment Envelope, Not Just Rack Units
Start with the equipment dimensions, weight, mounting pattern, and connector locations. For rack-mounted devices, rack-unit height does not describe the full space requirement. Account for depth, rear connections, cable routing, and the room needed to reach the equipment.
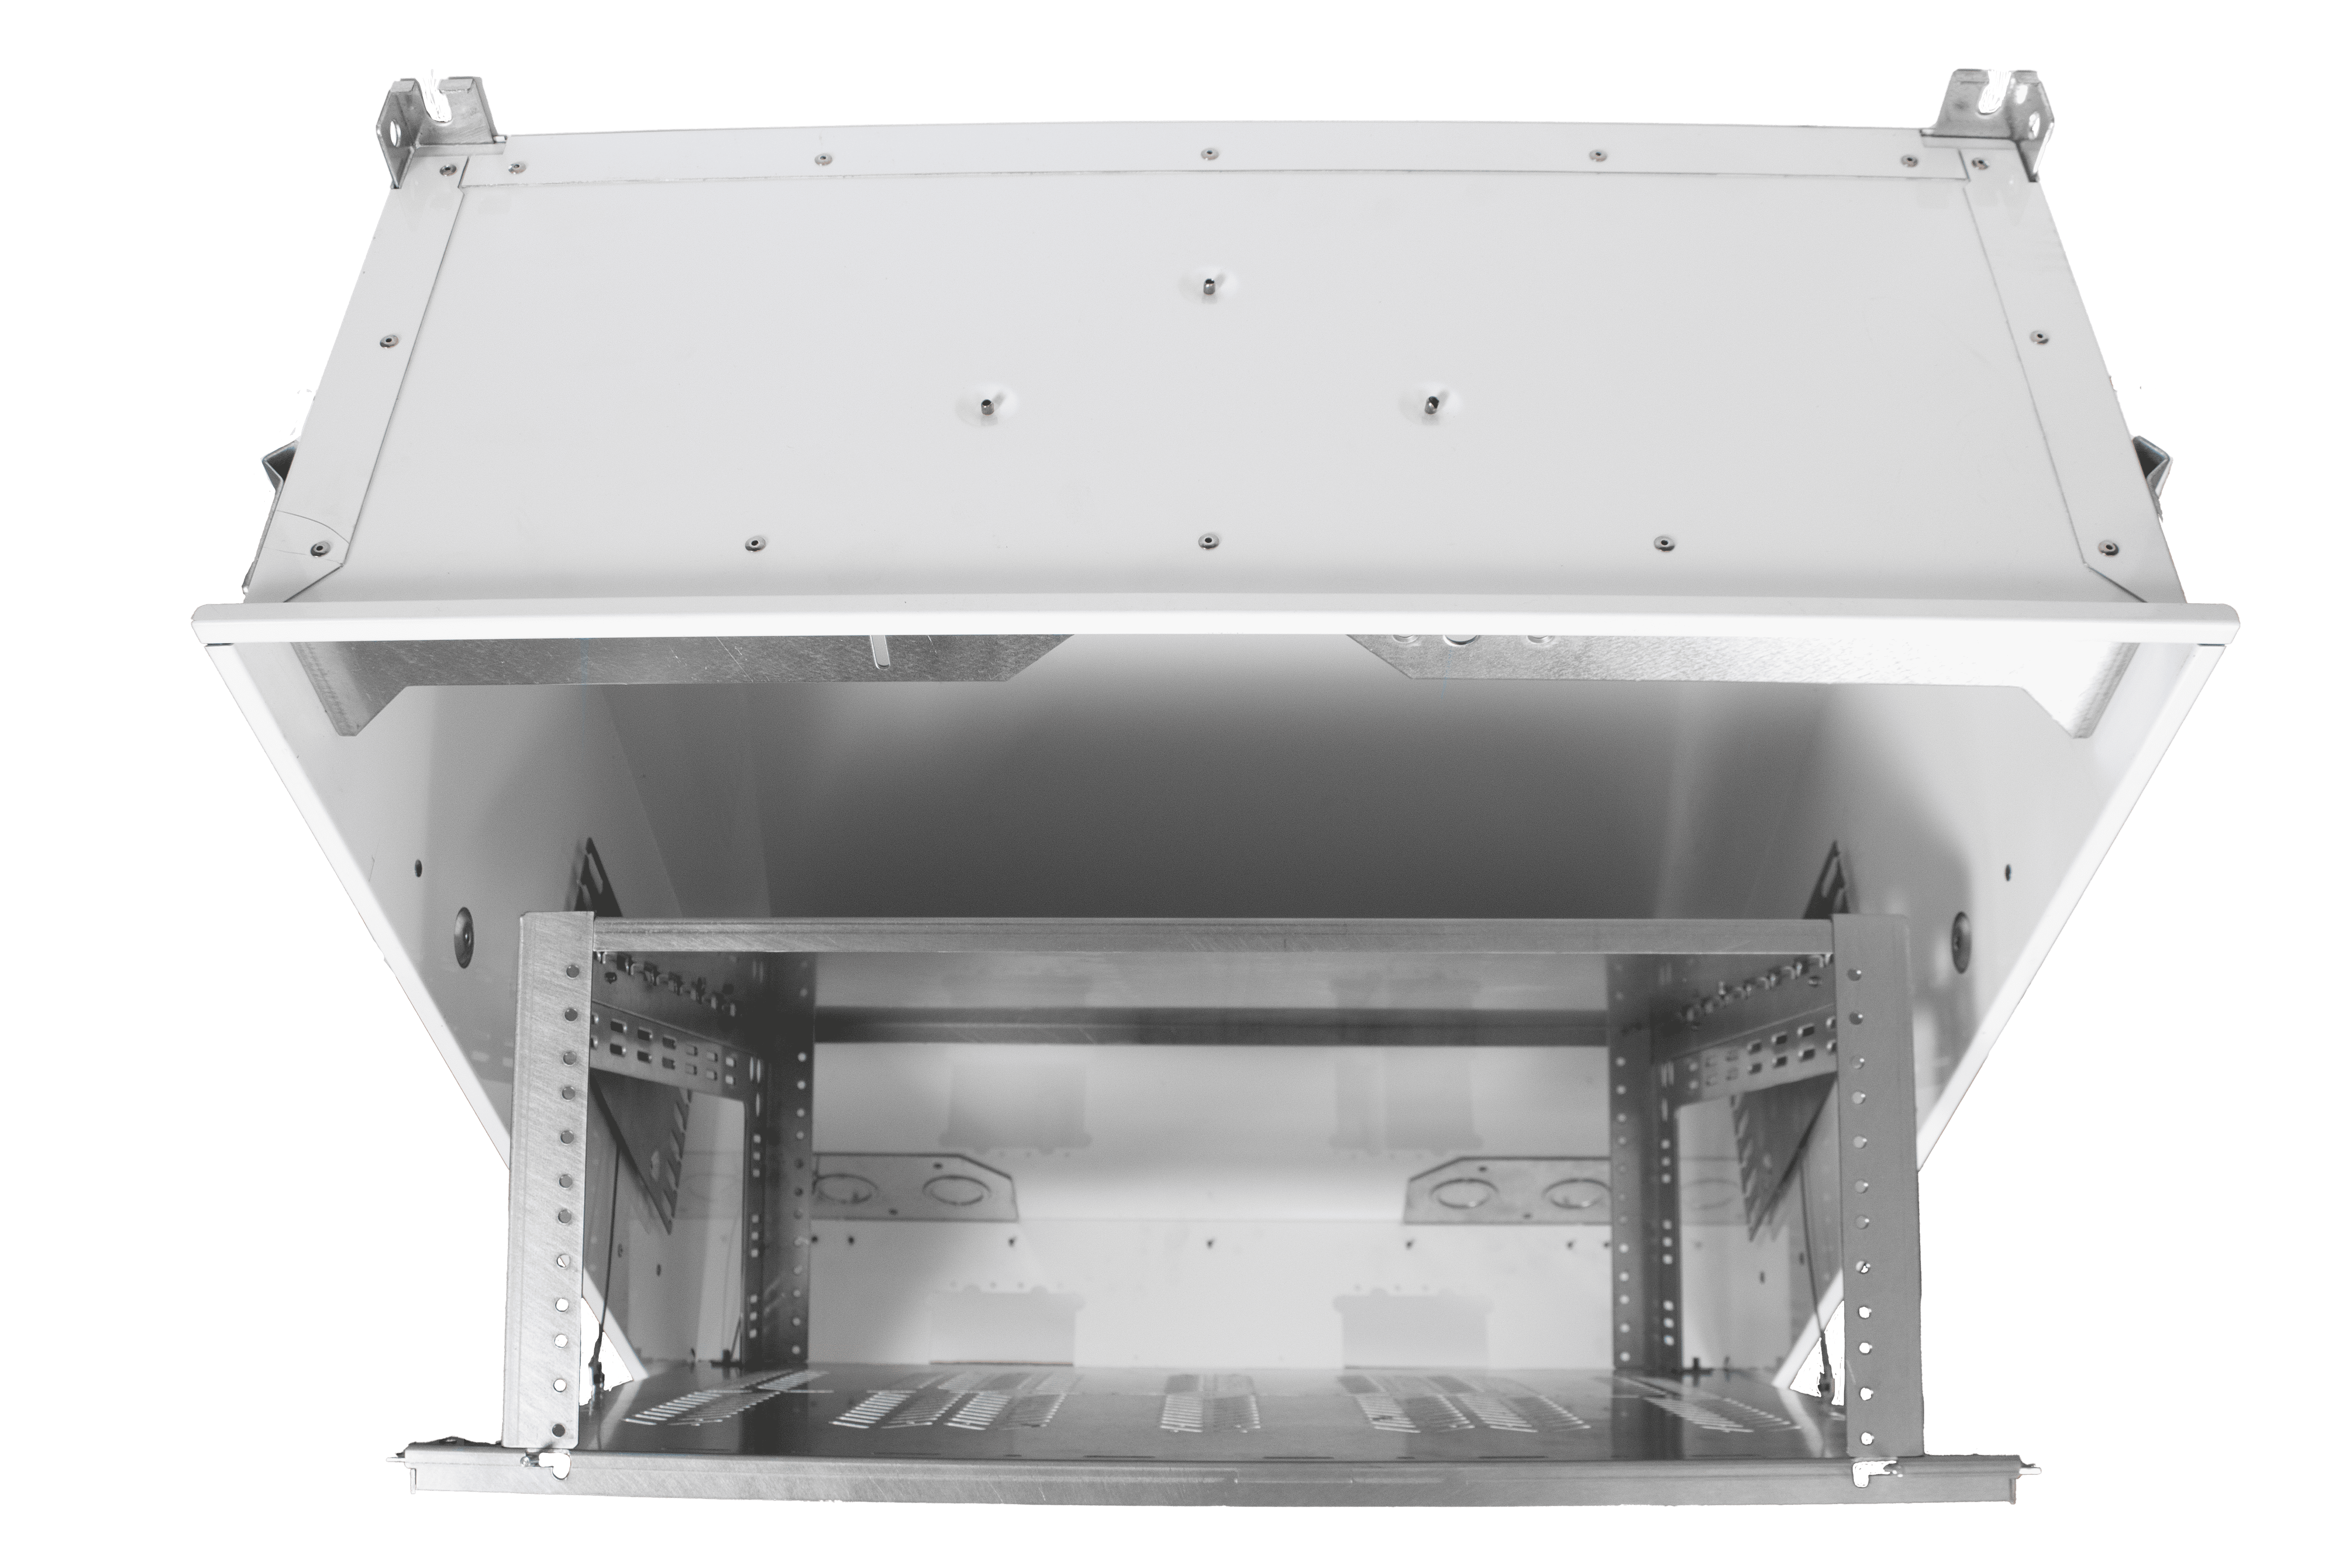
FSR's CB-324+ combines an oversized chassis for equipment more than 20 inches deep with a removable, dual-tilting 4RU rack that is 18 inches deep.
The enclosure also has front and rear rack rails, giving the mounting arrangement a defined structure. Use the equipment requirements and the enclosure's published limits together when deciding what belongs in that space.
Plan How the Equipment Will Move into Reach
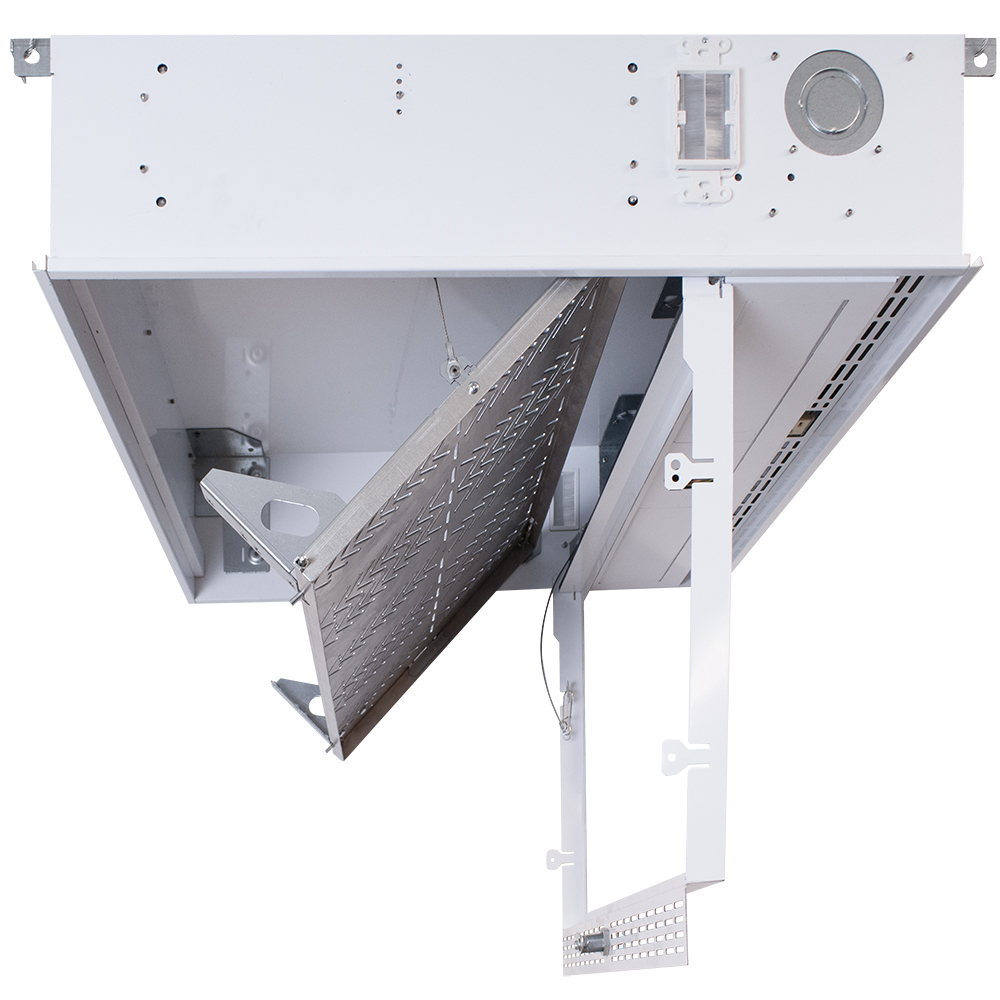
An equipment location should be evaluated in its service position as well as its normal operating position. Consider the shelf or rack's movement direction, available clearance, and how a technician will access the connections.
FSR's CB-22+ includes a removable dual-tilting equipment shelf and repositionable 2-RU rack rails. These features give installers alternative ways to mount and reach equipment within the enclosure.
For a larger rack-based arrangement, the CB-324+ provides a dual-tilting, removable 4RU rack. The useful question is not simply whether the rack tilts. It is whether the planned installation leaves room and cable movement needed to use that access.
Give Cables a Route That Supports Service
Follow each connection from the cable entry to the equipment. Avoid planning only for the final resting position. A serviceable arrangement must also accommodate the movement needed to inspect or remove a component without pulling on its connectors.
The CB-22+ includes two brush-lined low-voltage cable-entry plates. The CB-324+ provides six brush-lined low-voltage cable ports and cable-lacing provisions. These details create defined points to bring cables into the enclosure and organize them around the installed equipment.
Use those provisions in the layout rather than treating them as an afterthought. Check access to plugs and labels, maintain the required cable bend radius, and plan support so the cable route doesn't defeat the purpose of a movable shelf or rack.
Match Power and Cooling to the Selected Model
Decide how the equipment will receive power and manage heat before finalizing the component list. Review the actual equipment load, required ventilation, and selected enclosure options. A fan or power feature shown on one version may not be included on another.
Within FSR's CB-22+ family, a temperature-controlled fan kit is available for the CB-22+ and CB-22P+, while the CB-22S+ and CB-22SP+ include factory-installed fans.
The CB-324+ offers optional temperature-regulated fan configurations powered by AC or PoE. Its enclosure also provides dual power-input capability and includes one two-gang electrical box. Select power and cooling arrangements around the equipment and check the finished layout against the enclosure's installation requirements.
Make the Access Door Part of the Service Plan
Access begins before a technician touches the equipment. The door needs an opening path, a workable location, and a site-appropriate support arrangement. Consider the ceiling layout and anything below the enclosure that could interfere with access.
The CB-22+ features a lockable access door and a quick-disconnect safety cable that retains the door when it is unhinged. Integrated threaded-rod mounts provide another installation detail to review when planning support. The CB-324+ has a lift-off access door and an optional door tamper switch.
Follow the selected enclosure's installation instructions for mounting and support. A clean ceiling appearance should result from a planned installation, not a reason to compromise access or assume the ceiling grid alone provides the required support.
Explore our Ceiling Box Comparison Guide